
1. Botanical Details and Varieties:
- Botanical Information:
- Genus: Aloe (Family: Asphodelaceae)
- Native to Africa, specifically the Arabian Peninsula and parts of Southern Africa
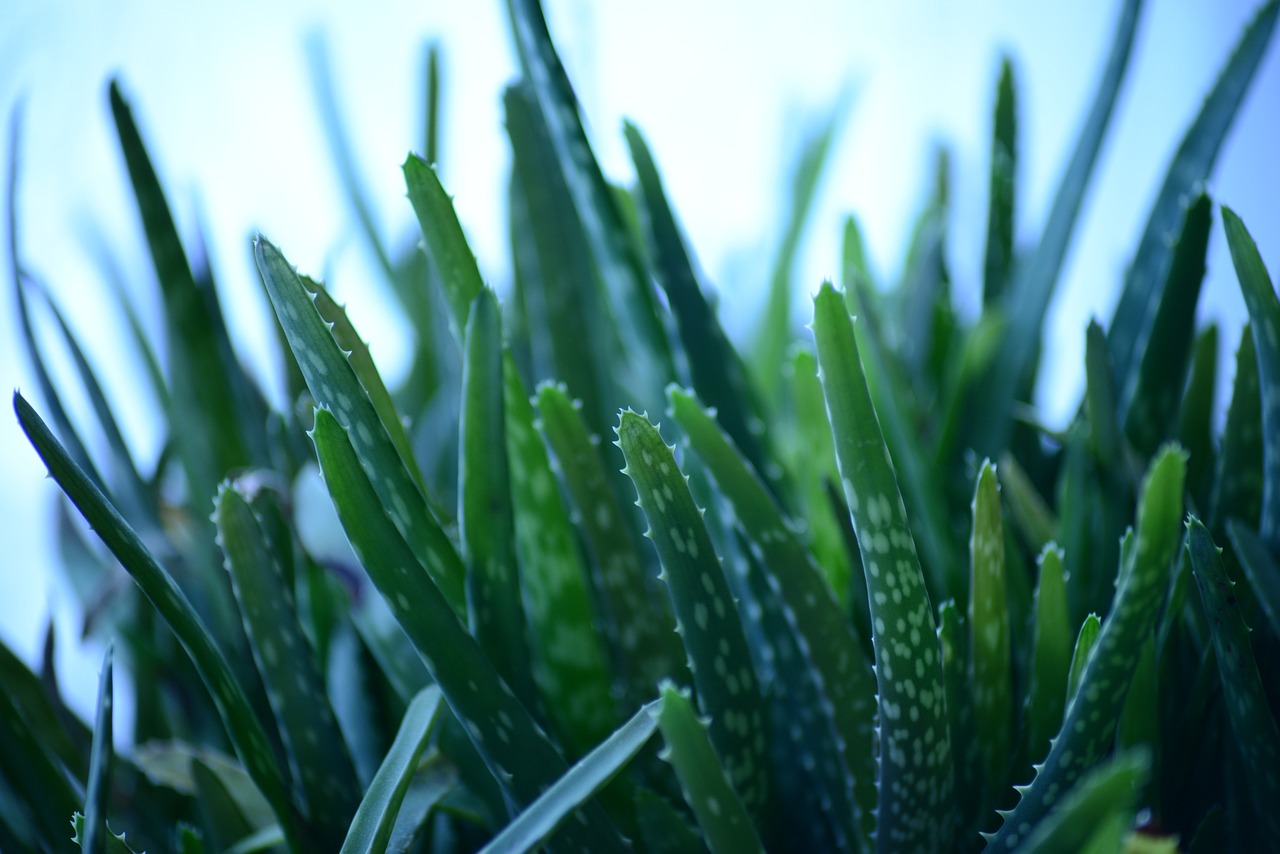
- Characterized by thick, fleshy, succulent leaves that contain a gel-like substance
- Popular Varieties:
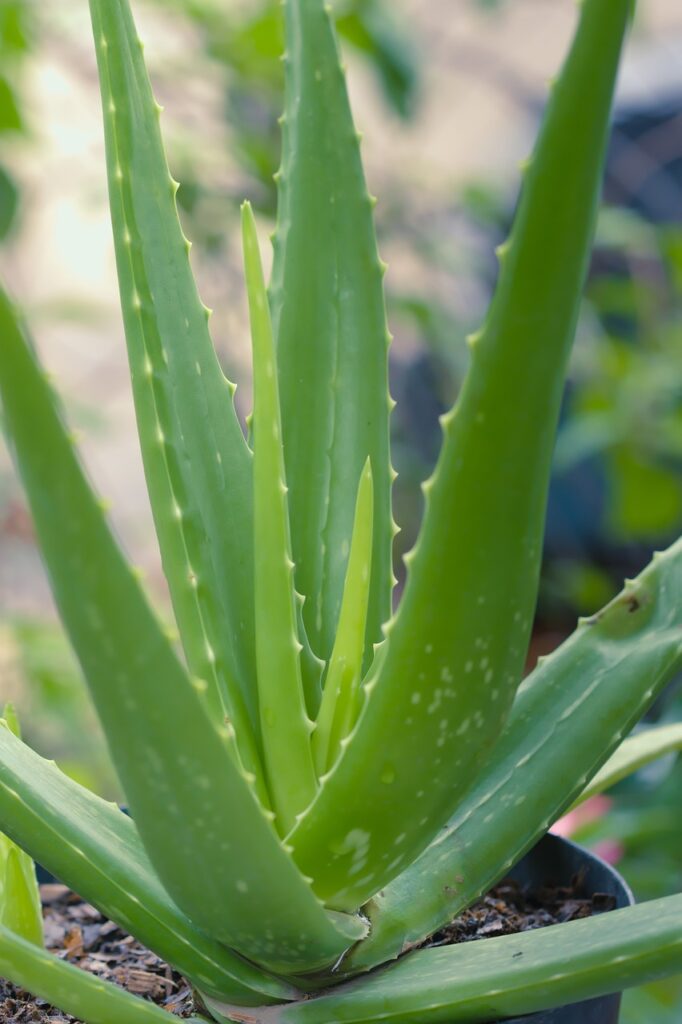
- Aloe vera (The most common variety known for its medicinal uses)
- Aloe aristata (Lace Aloe, smaller variety with spiky green leaves and white spots)
- Aloe ferox (Cape Aloe, with tall, thick leaves and red flowers)
- Aloe saponaria (Soap Aloe, known for its pinkish flowers)
- Aloe ‘Blue Elf’ (A smaller, compact variety with bluish-green leaves)
2. Ideal Growing Conditions:
- Light:
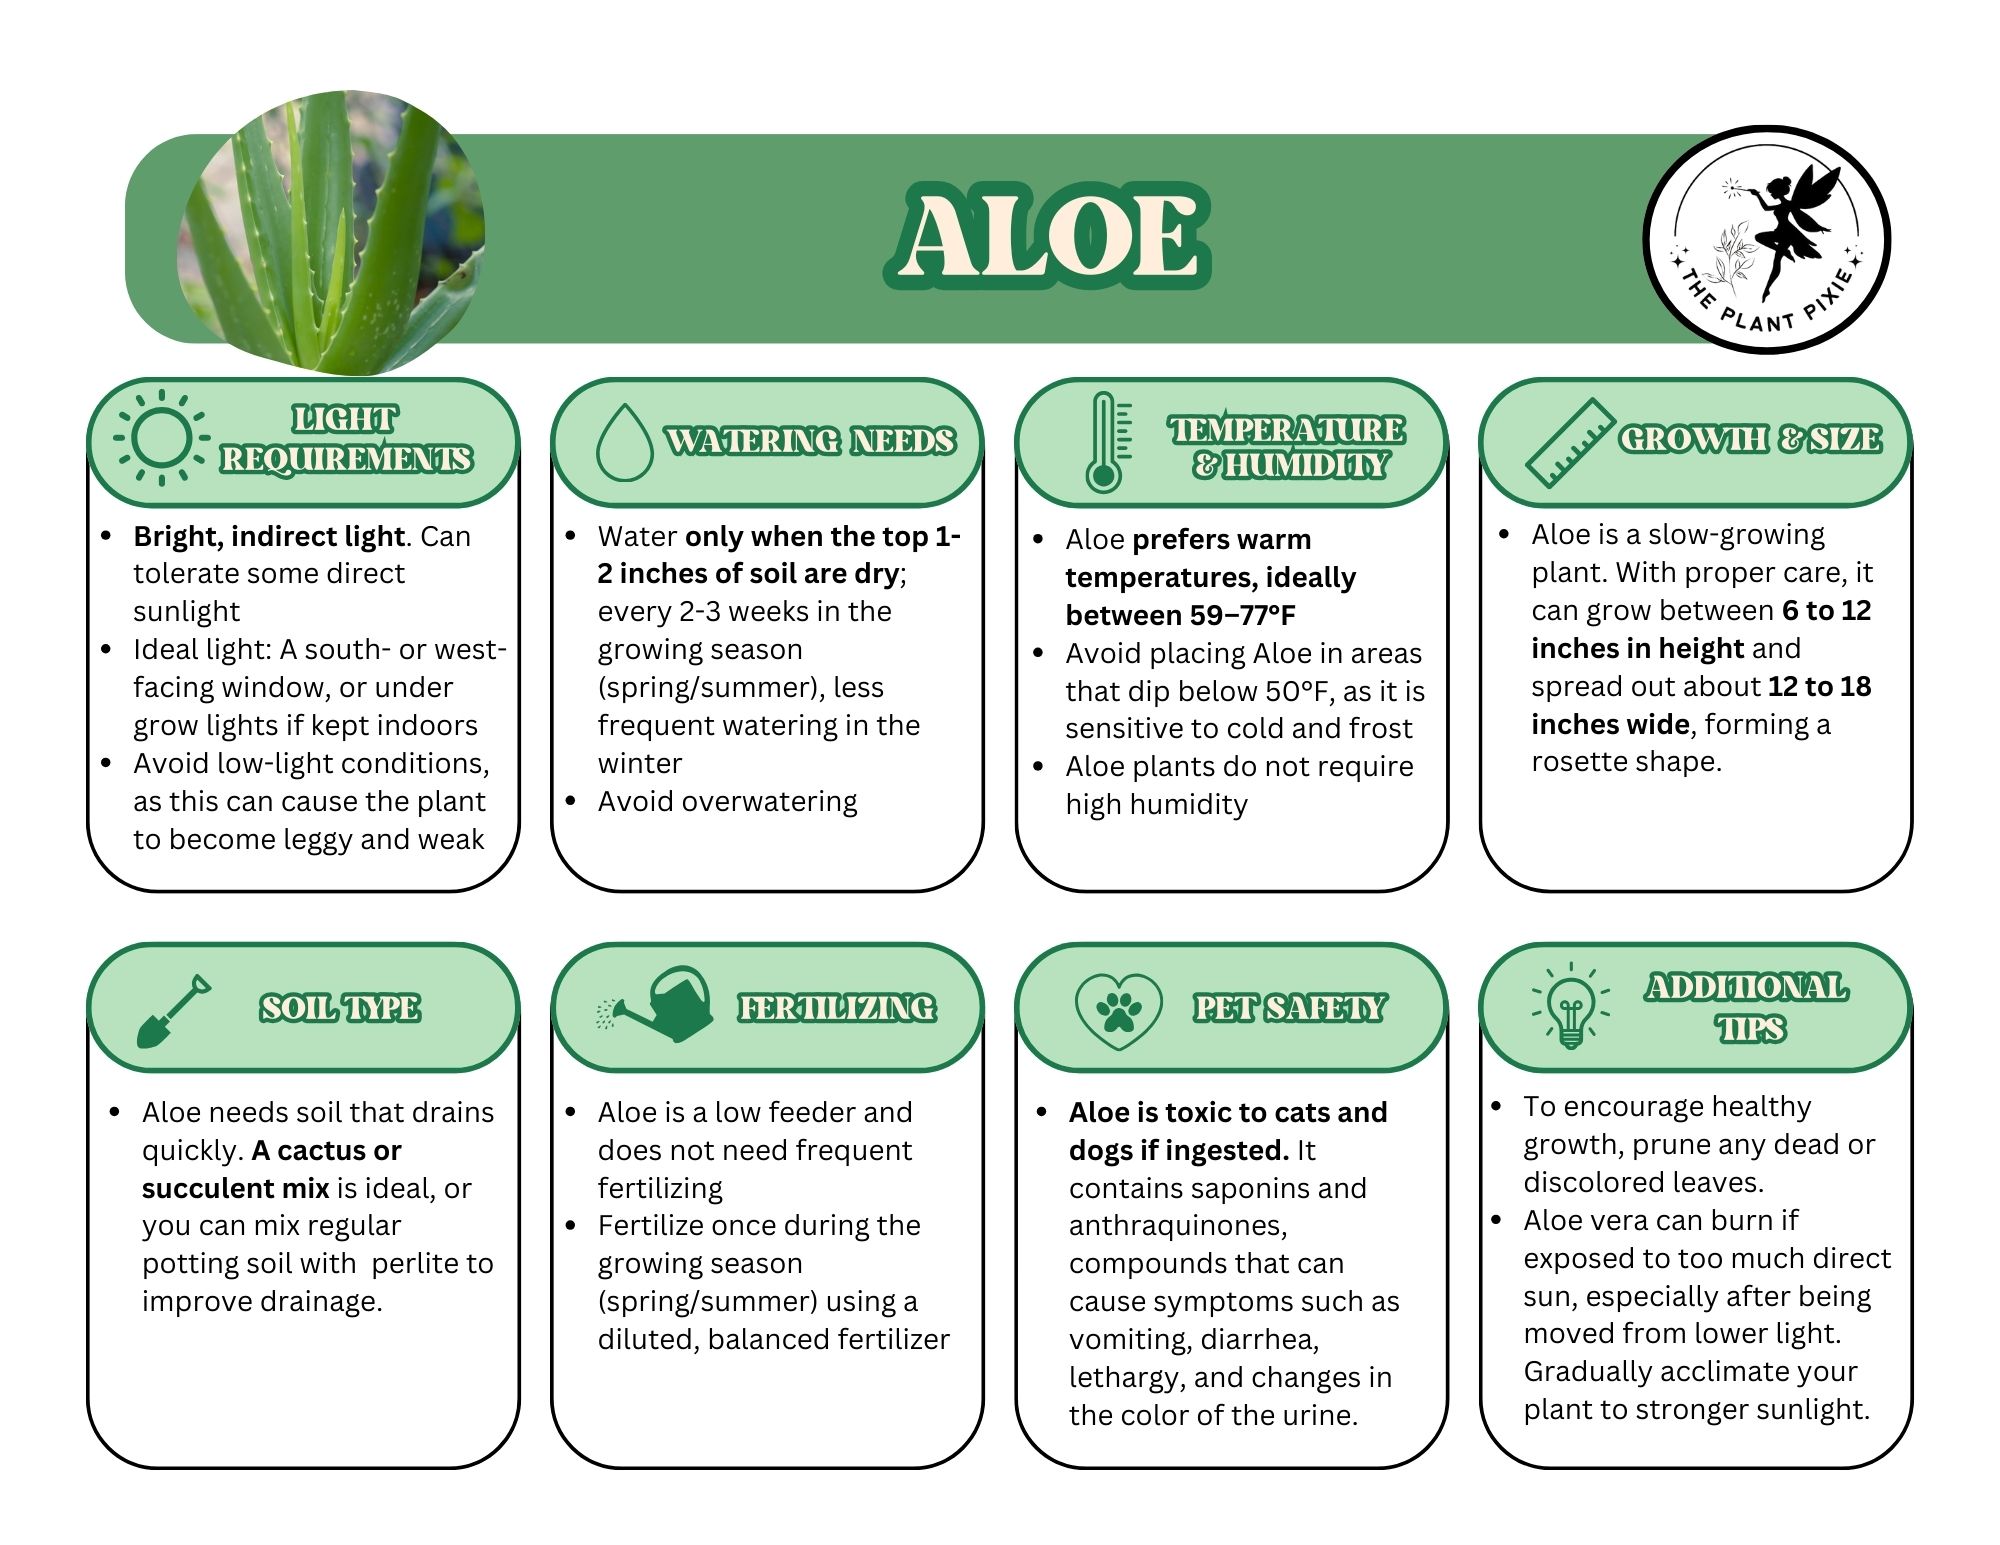
- Aloe plants need bright, indirect light but can tolerate some direct sunlight
- Ideal light: A south- or west-facing window, or under grow lights if kept indoors
- Avoid low-light conditions, as this can cause the plant to become leggy and weak
- Temperature:
- Aloe prefers warm temperatures, ideally between 59–77°F (15–25°C)
- Avoid placing Aloe in areas that dip below 50°F (10°C), as it is sensitive to cold and frost
- Humidity:
- Aloe plants thrive in dry air and do not require high humidity
- Perfect for homes with low to moderate humidity levels
- Soil:
- Well-draining, sandy or cactus potting mix is ideal for Aloe
- Ensure good drainage to avoid root rot; Aloe plants do not like to sit in wet soil
3. Watering and Fertilizing:
- Watering:
- Aloe plants are succulents and store water in their leaves, so they are drought-tolerant
- Water only when the top 1-2 inches of soil are dry; generally, water every 2-3 weeks in the growing season (spring/summer)
- Less frequent watering in the winter
- Overwatering is the most common cause of Aloe problems—always ensure the pot has good drainage
- Signs of overwatering: Yellow or mushy leaves; Signs of underwatering: Shriveling or drooping leaves
- Fertilizing:
- Aloe is a low feeder and does not need frequent fertilizing
- Fertilize once during the growing season (spring/summer) using a diluted, balanced fertilizer
- Avoid fertilizing in the winter when the plant is not actively growing
4. Common Issues and How to Solve Them:
- Yellowing Leaves:
- Causes: Overwatering, root rot, or poor drainage
- Solutions: Adjust watering habits, check for root rot, and ensure the pot has drainage holes
- Brown Leaf Tips:
- Causes: Underwatering, too much direct sunlight, or low humidity
- Solutions: Increase watering slightly, move the plant to a spot with less intense sun exposure, or increase humidity if needed
- Leggy Growth:
- Causes: Insufficient light or a too-large pot
- Solutions: Move the Aloe to a brighter location and consider repotting it into a smaller container if it has become root-bound
- Pests:
- Common pests: Mealybugs, aphids, scale, and spider mites
- Treatment: Wipe leaves with a damp cloth, use neem oil, or spray with insecticidal soap to control infestations
- Root Rot:
- Causes: Overwatering or poor drainage
- Solutions: Trim off rotting roots, repot the plant in fresh, well-draining soil, and adjust watering habits
5. Pruning and Shaping:
- Why Prune Aloe?:
- To remove dead or damaged leaves, which helps the plant focus energy on new growth
- Pruning also keeps the Aloe plant looking tidy and prevents it from becoming too large or unruly
- When to Prune:
- Best to prune during the growing season (spring and summer)
- Prune any dead, brown, or damaged leaves as soon as they appear
- How to Prune:
- Use clean, sharp scissors or pruning shears to cut the leaves at the base
- Avoid cutting healthy leaves, as this can stress the plant
- Be cautious when pruning Aloe, as the sap can irritate the skin—wear gloves if necessary
6. Repotting and Potting:
- When to Repot:
- Aloe plants typically need repotting every 2-3 years or when the plant becomes root-bound
- Signs of needing repotting: Slow growth, roots growing out of the drainage holes, or the plant tipping over due to a small pot
- Best Potting Tips:
- Use a pot that is 1-2 inches larger than the current one to allow for healthy root growth
- Choose a pot with drainage holes to prevent water from accumulating at the bottom
- Make sure the new pot has a well-draining mix (cactus or succulent mix)
- Repotting Steps:
- Gently remove the plant from its old pot, inspect the roots for rot, and trim any unhealthy parts
- Refresh the soil and ensure proper drainage
- Place the plant in the new pot, and avoid watering immediately to prevent root rot
7. Propagation of Aloe:
Propagating Aloe vera is a simple and rewarding process, especially since the plant readily produces pups (offsets) or small offshoots that can be separated and grown into new plants. Below are the step-by-step instructions on how to propagate Aloe vera.
Step-by-Step Instructions for Propagating Aloe Vera
Materials Needed:
- Aloe vera plant (with pups or offsets)
- Clean, sharp scissors or pruning shears
- A small pot with drainage holes
- Well-draining potting mix (succulent or cactus mix)
- A dry, flat surface for drying the cuttings (optional)
- Water (for watering after planting)
- Gloves (optional, for protection)
Step 1: Identify the Pups (Offsets)
- Look for pups: Aloe vera produces small offsets or pups at the base of the main plant. These pups are essentially baby Aloe plants that can be separated from the parent and grown into independent plants.
- Select healthy pups: Choose pups that are at least 2–3 inches tall with some established roots, as these will have the best chance of successful rooting. You can propagate pups that are smaller, but they may take longer to establish.
Step 2: Remove the Pups from the Parent Plant
- Locate the pup: Find the offset at the base of the Aloe plant. It may be attached to the mother plant by a short stem or be slightly separated.
- Cut the pup: Using clean, sharp scissors or pruning shears, cut the pup from the main plant. Make the cut as close to the base of the pup as possible, leaving the main plant intact. Be careful not to damage the pup’s roots during the process.
- Tip: If the pup doesn’t have visible roots, you can still propagate it, but it may take longer for the plant to root.
Step 3: Let the Pup Dry (Optional but Recommended)
- Dry the pup: After cutting the pup from the parent, place it in a dry area for 1–2 days to allow the cut surface to heal. This process helps to prevent the pup from rotting once it is planted. The wound will form a callus, reducing the chances of infection.
- Tip: Lay the pup flat on a paper towel or newspaper in a shaded, dry place, out of direct sunlight.
Step 4: Prepare the Pot and Soil
- Choose a pot: Select a small pot with drainage holes to ensure that excess water can escape, preventing root rot. The pot should be just slightly larger than the pup’s root ball.
- Prepare the soil: Use a well-draining potting mix specifically designed for cacti or succulents. If you don’t have cactus mix, you can mix regular potting soil with perlite or sand to improve drainage.
Step 5: Plant the Aloe Pup
- Plant the pup: After the cut surface has dried and healed, place the pup in the new pot. Gently press the pup’s roots into the soil and make sure the base of the pup is slightly buried. Ensure that the roots are covered, but do not bury the leaves.
- Firm the soil: Press the soil gently around the pup to secure it in place and eliminate any air pockets. Do not water immediately after planting, as the pup is still recovering from being separated.
Step 6: Watering
- Water after planting: After a few days, once the pup has had time to acclimate, lightly water the soil. Make sure the soil is moist but not soggy. Aloe vera is a succulent and doesn’t like its roots to sit in water. Ensure that the pot has adequate drainage to prevent water from accumulating.
- Watering schedule: Water the newly potted Aloe pup sparingly at first. Allow the soil to dry completely between waterings. Aloe vera prefers to dry out between watering sessions rather than staying consistently moist.
Step 7: Place the New Aloe Plant in a Bright, Warm Spot
- Provide proper light: Place the new Aloe vera pup in a bright, indirect light spot. Aloe vera likes full sun, but when propagating, it’s best to avoid direct, harsh sunlight until the plant has been well-established.
- Tip: Gradually increase the light exposure as the pup starts to grow and become more established.
Step 8: Care for the New Aloe Vera Plant
- Monitor growth: After a few weeks, the pup should start rooting and establishing itself in the new pot. Once the plant starts growing new leaves, you can begin to treat it like a mature Aloe vera plant, watering it less frequently and giving it more sun.
- Fertilizing: Aloe vera does not need a lot of fertilization, but you can fertilize the plant with a diluted liquid fertilizer once every 4–6 weeks during the growing season (spring and summer).
- Repotting: As the Aloe plant grows, you may need to repot it into a slightly larger pot every couple of years to accommodate its growth.
Additional Tips for Aloe Vera Propagation:
- Timing: The best time to propagate Aloe vera is in the spring or summer during the growing season. This is when the plant is actively growing and will be able to establish new roots more easily.
- Rooting Hormone (Optional): While Aloe vera pups typically root quite easily on their own, you can use a rooting hormone to encourage faster root growth if desired. Simply dip the cut end of the pup into the rooting powder before planting it.
- Multiple Offsets: If you’re propagating several pups at once, each should be planted in its own small pot to allow the roots to establish properly without overcrowding.
Summary:
- Select a healthy pup from the parent Aloe plant.
- Cut the pup from the main plant using sharp, clean scissors.
- Allow the pup to dry for 1–2 days to heal the cut surface.
- Prepare a small pot with well-draining soil.
- Plant the pup in the pot, covering the roots and firming the soil gently around it.
- Water lightly after planting, allowing the soil to dry out completely between waterings.
- Place the new plant in a bright, indirect light location.
- Care for the plant by monitoring its growth, watering sparingly, and providing adequate light and occasional fertilization.
By following these simple steps, you’ll soon have new Aloe vera plants that can be enjoyed in your home or shared with friends and family!
8. Benefits of Owning Aloe:
- Medicinal and Skin Care Benefits:
- Aloe is well-known for its healing properties, particularly for skin ailments like burns, cuts, and dryness
- The gel inside Aloe leaves can be harvested and applied topically for soothing relief
- Aloe vera juice is sometimes consumed for digestive health (though consult with a professional before internal use)
- Air Purification:
- Aloe vera, like many succulents, can help purify the air by removing harmful chemicals like formaldehyde and benzene
- Aesthetic Appeal:
- Aloe’s unique, spiky leaves and architectural form make it a striking addition to any home décor
- Perfect for desks, windowsills, and as a minimalist centerpiece
9. Fun Facts About Aloe:
- Historical Use:
- Aloe has been used for thousands of years by various cultures for its medicinal properties (including ancient Egyptians, who called it the “plant of immortality”)
- Durability:
- Aloe plants are incredibly hardy, capable of surviving in dry, arid conditions and with minimal care
- Aloe’s Resilience:
- Aloe’s ability to store water in its leaves makes it capable of surviving long periods of drought
10. Additional Resources:
1. The Spruce
- Website: The Spruce – Aloe Vera Care
- What it Offers: The Spruce provides easy-to-understand plant care guides, including detailed instructions on how to care for Aloe vera, common problems, and tips for growing Aloe successfully as a houseplant.
2. Gardener’s Path
- Website: Gardener’s Path – Aloe Vera Care
- What it Offers: This site offers a comprehensive Aloe vera care guide, including planting, watering, and propagation advice, as well as dealing with common pests and diseases.
3. Plant Care Today
- Website: Plant Care Today – Aloe Vera Care
- What it Offers: Plant Care Today covers a wide range of plant care topics, with detailed information on Aloe vera’s specific light, soil, and watering requirements, as well as troubleshooting common issues like yellowing leaves or root rot.
4. RHS (Royal Horticultural Society)
- Website: RHS – Aloe Vera Care
- What it Offers: The RHS provides trusted horticultural advice and tips for growing Aloe vera in both pots and the garden. The website also offers guidance on how to propagate Aloe and other succulent plants.
5. University of Florida IFAS Extension
- Website: UF/IFAS Extension – Aloe Vera
- What it Offers: The University of Florida’s IFAS Extension site offers research-backed information on Aloe vera, including its cultivation, maintenance, and pest control. The site is especially helpful for those looking to grow Aloe in warmer climates.
These websites are great places to start learning more about Aloe vera and its care as a houseplant, with detailed articles, expert advice, and community support available on many of them. Whether you’re a beginner or an experienced plant enthusiast, these resources can help you grow a healthy and thriving Aloe vera plant.